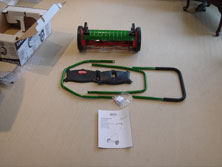
The Brill Luxus mower body is already completely assembled. You just have to attach the handle. The handle comes in three pieces. 3 easy steps to assemble your Luxus 38 push mower ::
click images for a larger image
|
|
| unpack your push mower :: |
|
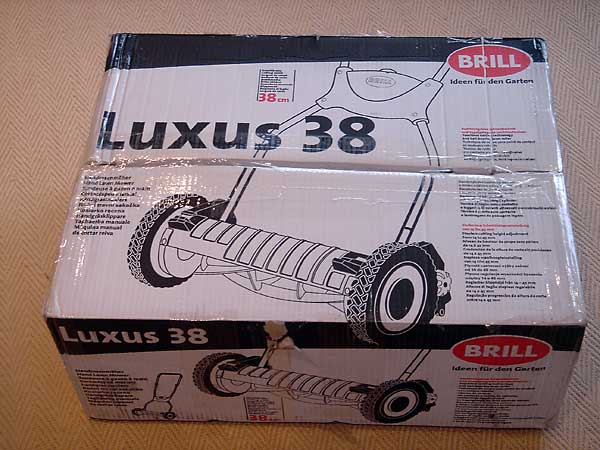
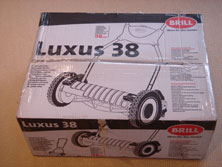
Here is what your Luxus 38 Push Mower box will look like when you receive it.
|
|
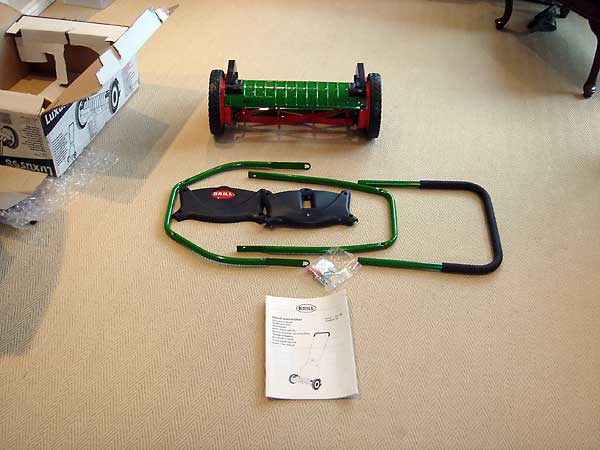
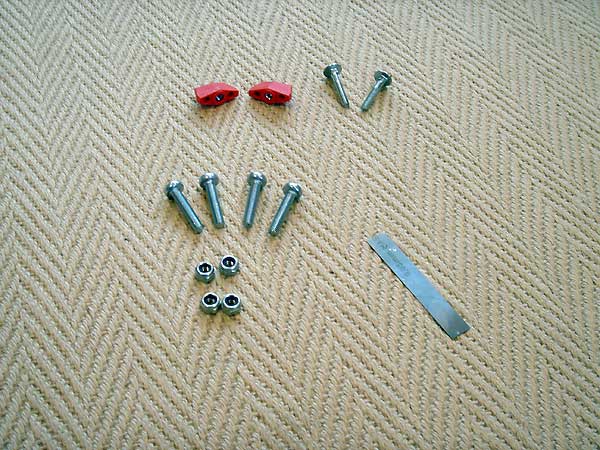
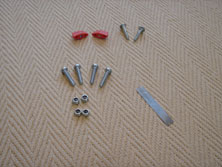
Check that you have all of the required parts. |
 |
|
| 1. connect the blade and bottom handle :: |
|
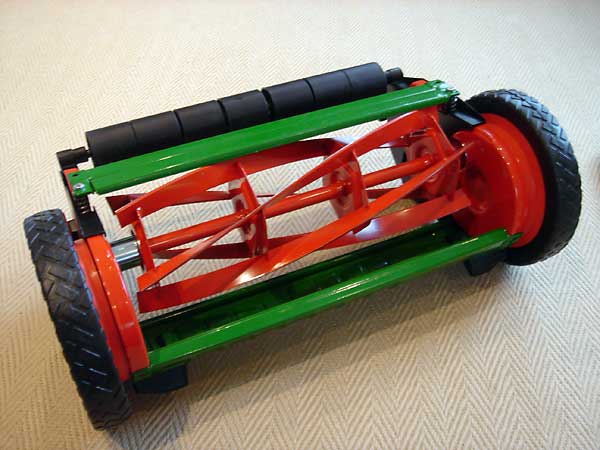
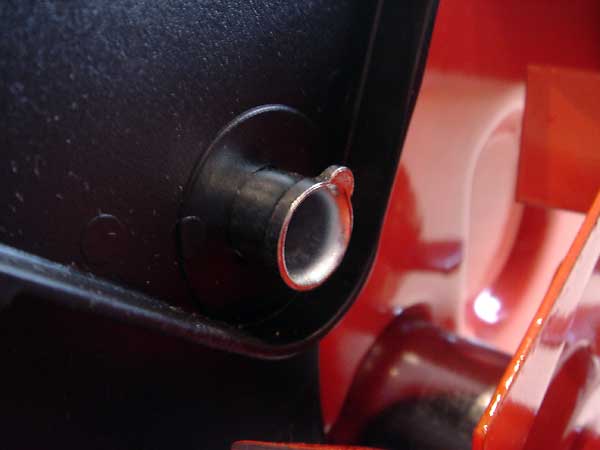
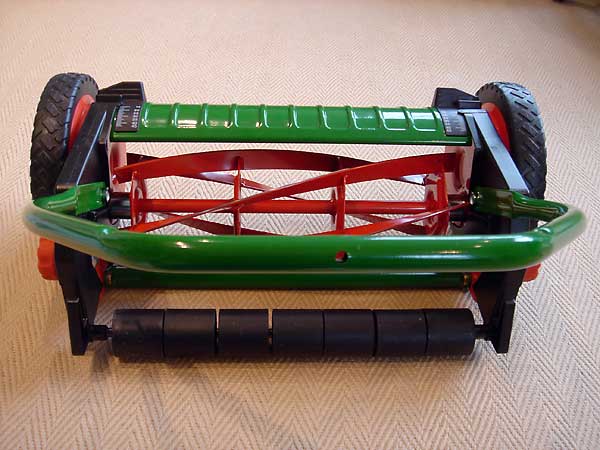
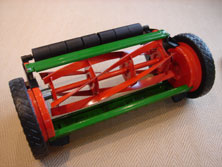
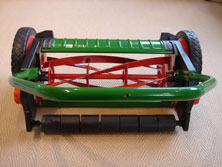
Tilt your Luxus 38 Push Mower blade so that the black rollers face upwards. (this means you are looking at the bottom of the reel blade)
|
|
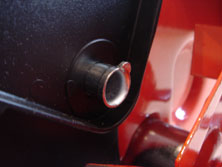
Fit the lower section of the guide handle so that the drilled holes are over the handle bolts. |
|
|
|
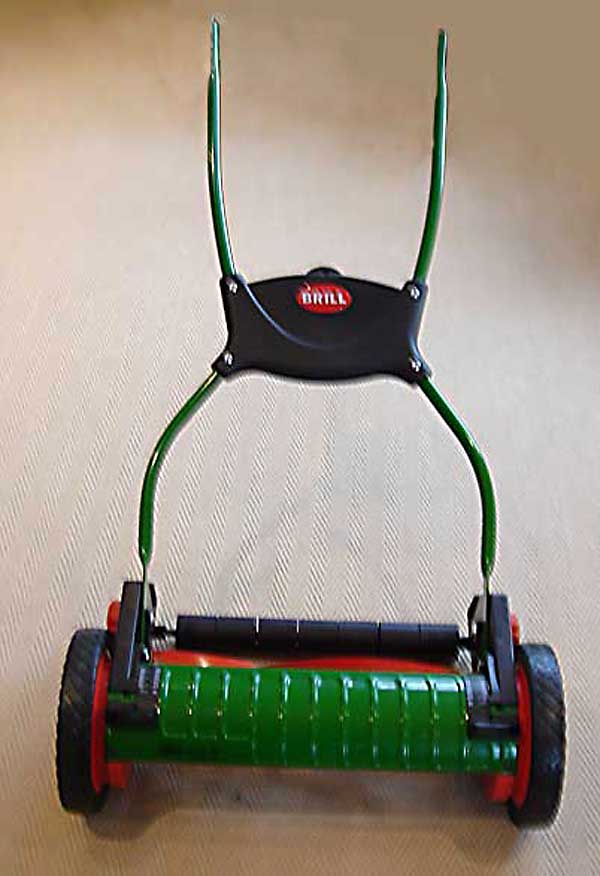
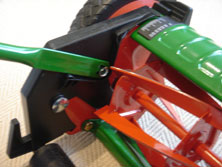
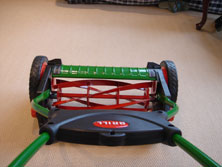
Your Luxus 38 Push Mower should now look like this.
You have only the top node and section of the handle left.... |
| 2. connect the node and top handle to the push mower :: |
|
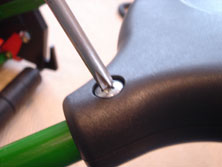
Take the middle handle section, and snap the Node on, as shown here |
|
Secure the node using the 4 supplied nuts and bolts |
| 3. connect the top handle to the push mower :: |
|
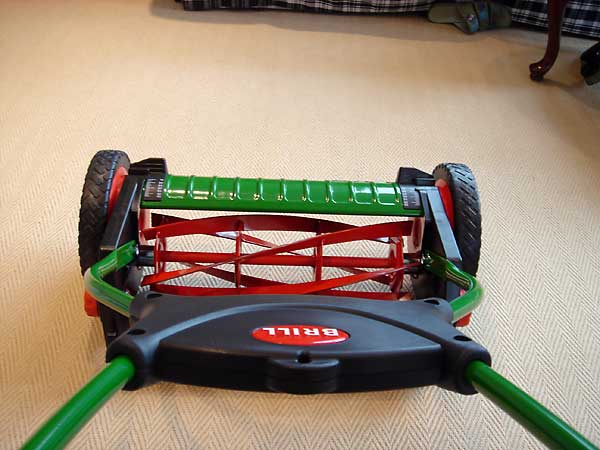
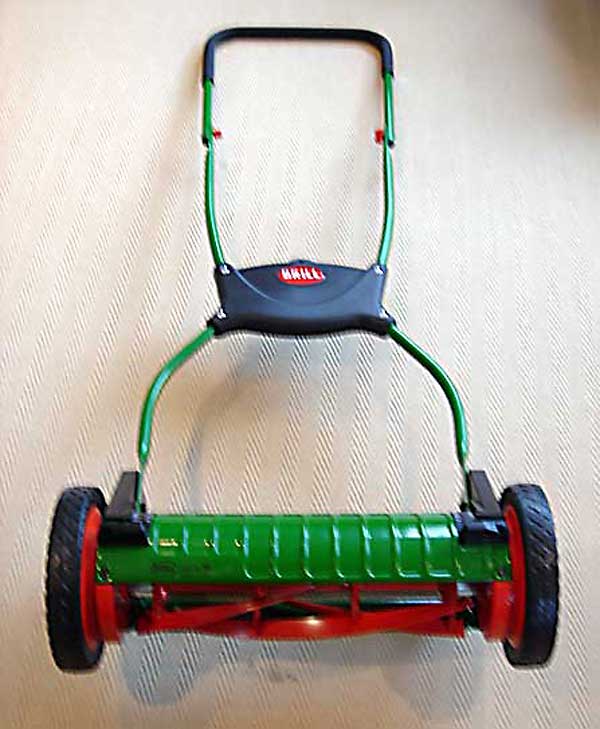
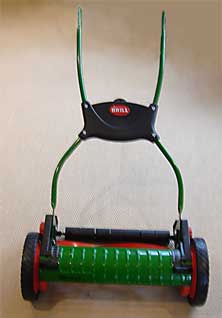
Your Luxus 38 Push Lawn Mower now looks like this. |

|
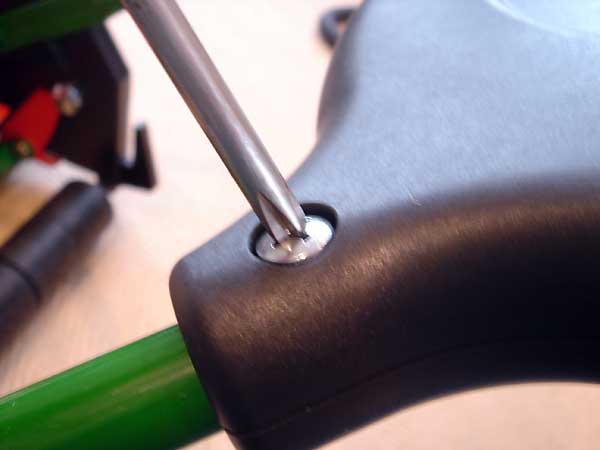
Finally, attach the top handle, using the remaining two screws and orange nuts.
Congratulations! You now have assembled your new Brill Luxus 38 Push Mower.
You may now want to read ::
1. how to adjust the height of the mower. Remember to start at the highest height on your first mow.
2. the first time mowing tips so that you make your first reel lawn mowing experience great!
|
| Regular Brill push lawnmower care :: |
Care tips
to help you keep your
Brill Luxus 38 Push Mower
in great shape :: |
|